 |
 Download Table Subscriptions
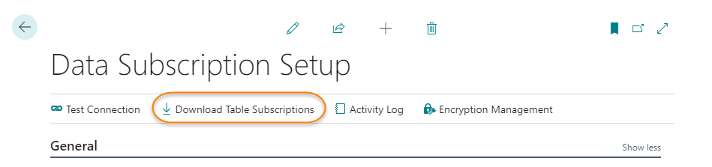
By clicking on Download Table Subscriptions on the Data Subscription Setup page, the system will manually run the process to download the table subscriptions.
However, normally the process should be setup in a Job Queue Entry to be run periodically, e.g. every day at night.
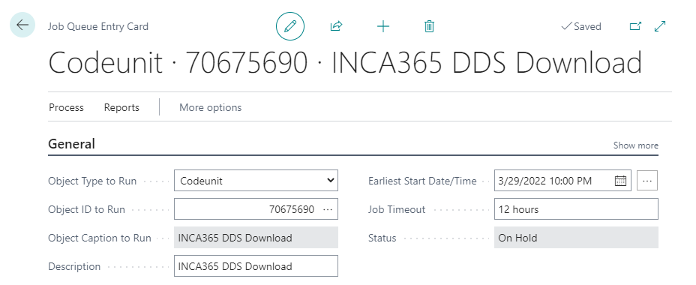
- Object Type to Run: “Codeunit”
- Object ID to Run: “70675690”
- Object Caption to Run: INCA365 DDS Download (Name is filled in automatically after entering the Object ID.)
- Earliest Start Date/Time: Select a date and a time, when the Job Queue should run.
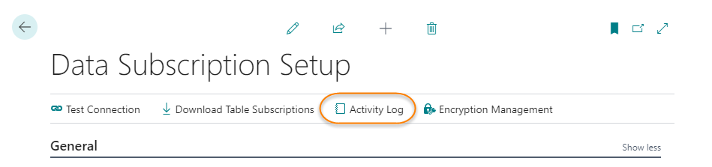
Data Subscription Activity LogThe Activity Log page stores important log information about the transmission to the publisher.
To open the Activity Log page click on Activity Log on the Data Subscription Setup page:
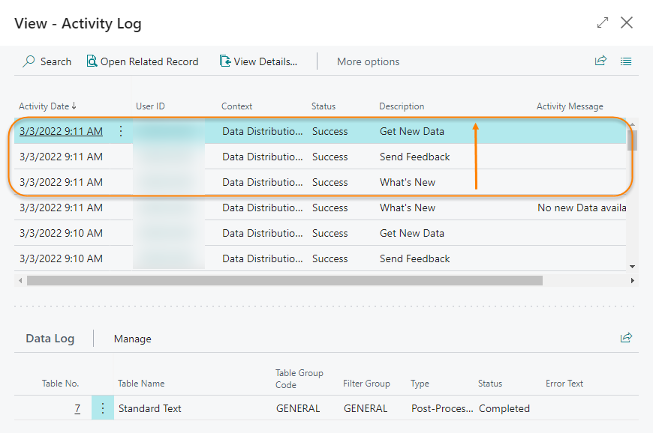
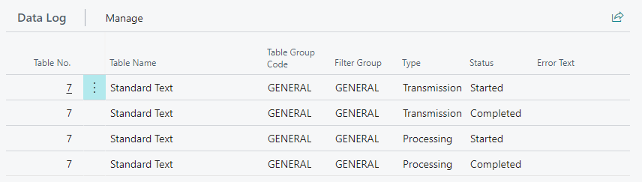
As displayed in the screenshot above, each transmission consists of three steps:
| 1. | What's New, asks the publisher if any data in any table and filter group is available to download. The Data Log below displays which. In the expample above only records in the Standard Text table have been modified in the publisher. In case, there is no data available the activity message displays "No new Data available" in the Activity Message column. It is possible to click on View Details to display the details of the communication on JSON. | ||||||
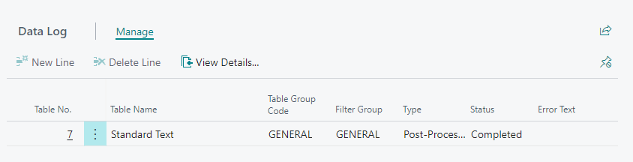
| 2. | Send Feedback, the feedback to the publisher starts immediately after What's New. After selecting the Send Feedback record in the screenshot above, the Data Log displays the feedback records:
| ||||||
| 3. | Get New Data: this activity indicated the data download from the publisher. After selecting the Get new Data record in the screenshot above, the Data Log displays the information as follows:
|
 OAI Export Data
To export data with OAI (Open Accounting Interface) you need to perfom the following steps:
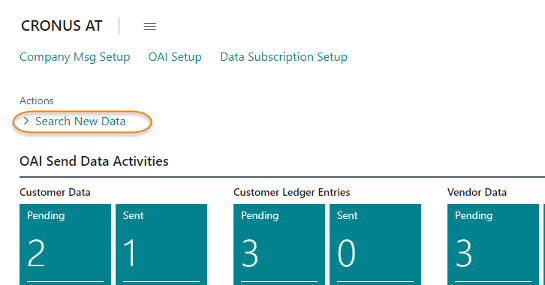
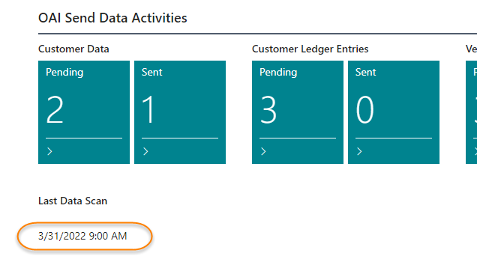
| 1. | First you need to fetch new data if available. You do this by clicking on Search New Data on the Role Center. This action is searching for new data on all available options (Customer Data, Customer Ledger Entries, Vendor Data, etc.)
| ||||||
| 2. | Click on the Pending Cue of the data you want to check. A page opens, where you can the basic information about the fetched data:
|
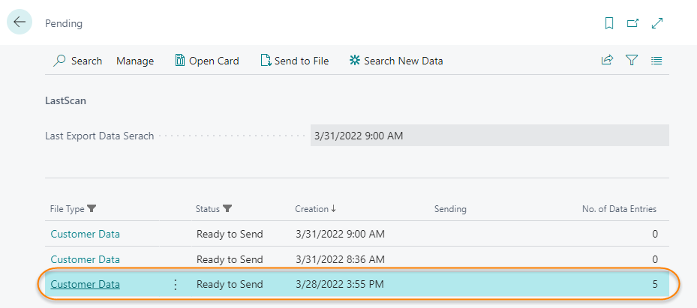
The following actions can be done on this page:
Action | Description |
|---|---|
Manage | This action opens a sub menu where you can View the data to export or Delete a line (e.g. if No. of Data Entries is zero). |
Open Card | This action opens a new page, which containts a detailed information about the data that is about to be exported. 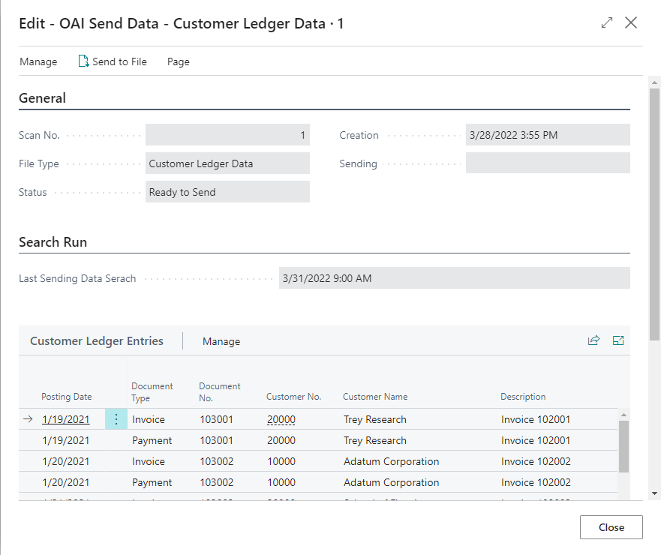 You can also perfom the Send to File action on this page. |
Send to File | This action exports the data into a txt-file. The filename is the one you setup in the OAI File Type Setup procedure. If there is not Base Filename entered on this setup, the export of data does not work. The system informs you about the missing setup: 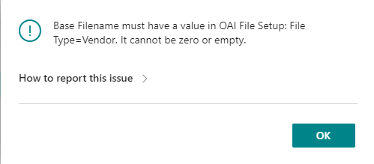 |
Search New Data | Instead of fetching all data by using the action on the Role Center, you can also perfom a search for new data on the Pending page. |
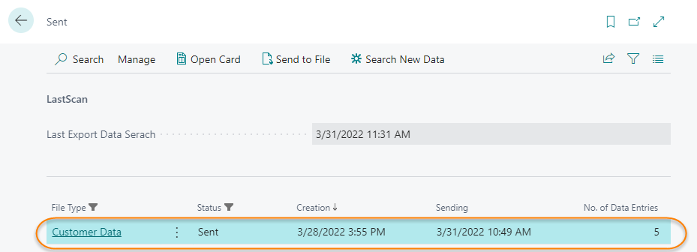
Once you have send the data to a file the status of the data has changed from Pending to Sent. By clicking on the cue Sent on the Role Center. On the list page that opens, you can see how many entries were sent and when.
 OAI Payment Import
To import payment data to the database perform the following procedure:
 | To perform the import successfully the filename of the import file needs to be setup in the OAI File Type Setup. |
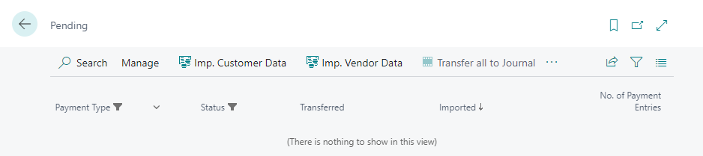
| 1. | Click on a Pending Cue on the Rolecenter in the OAI Payment Activities section.
| ||||||
| 2. | The following actions are available on this page to perfom the import of payment data: |

Action | Description |
|---|---|
Manage | This action opens a sub menu where you can View the data to export or Delete a line (e.g. if No. of Data Entries is zero). |
Imp. Customer Data | This action is used to import Customer Data into the database. |
Imp. Vendor Data | Use this action to import Vendor Data. |
Transfer all to Journal | With this action all imported data lines are transferred to the Journal which was selected during the setup. |
Add current to Journal | This action imports only the selected line to the Journal which has been setup. |
Set "Imported" | To set the status of the lines to Imported click this action. |
Show | The selected record is shown by using this action. |