 |
 Aftersales WIP
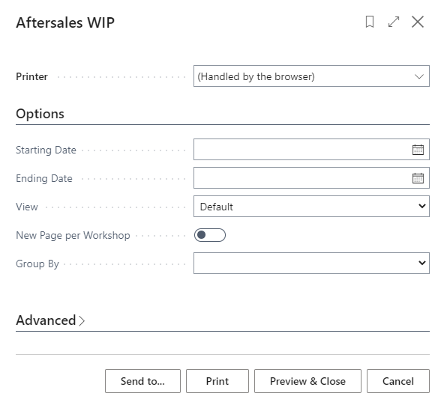
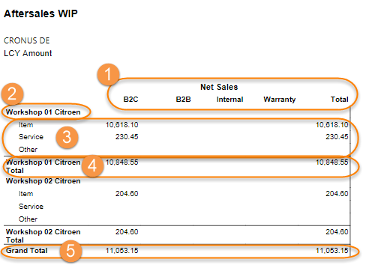
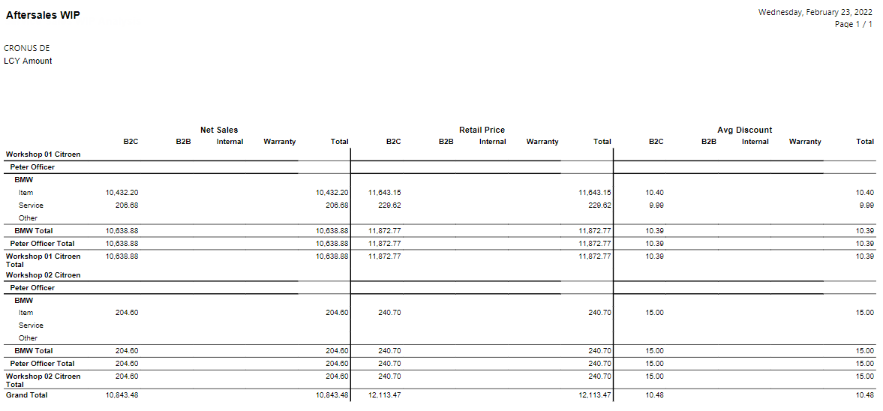
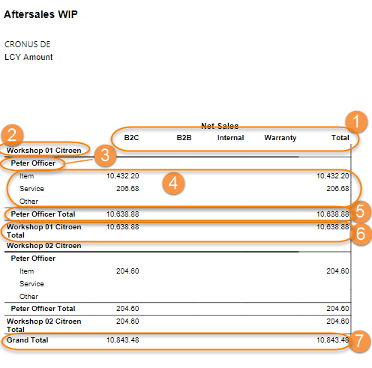
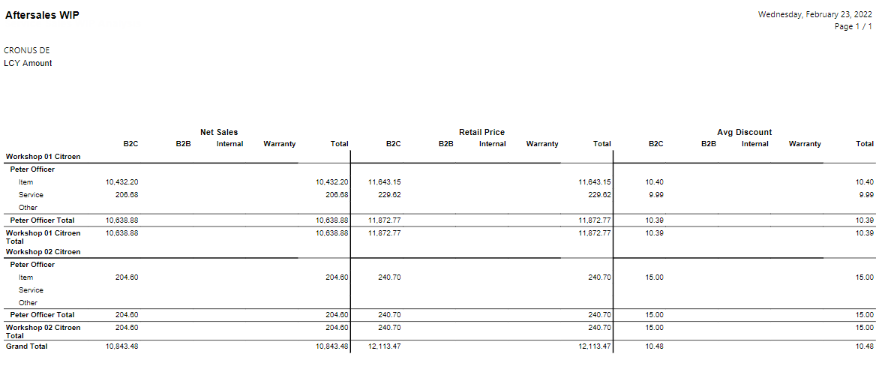
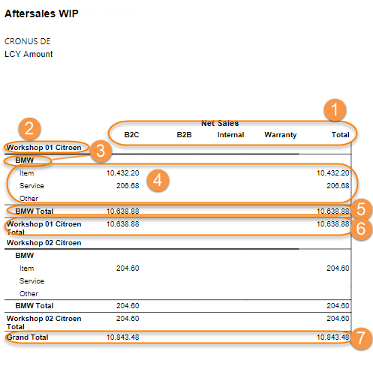
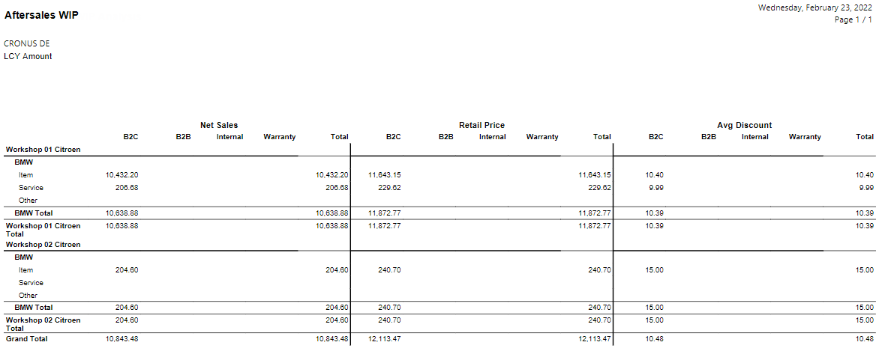
This report shows the expected value of aftersales activities in progress but which are not finalized yet. The work in progress is shown in a matrix layout, split by branch, customer type and sales type.
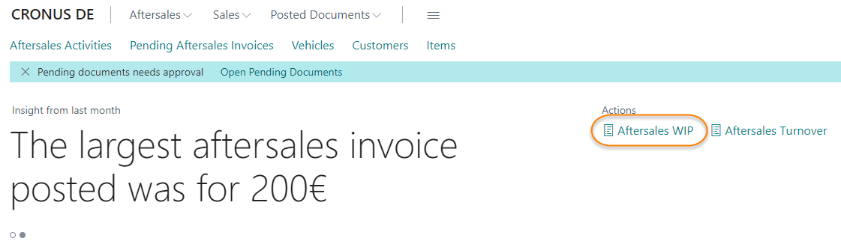
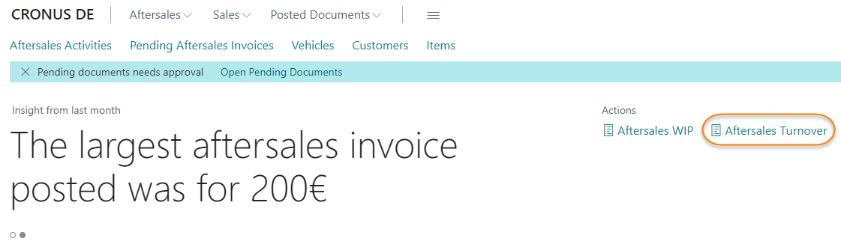
| 1. | On the Rolecenter page click on Aftersales WIP on the Rolecenter Page.
| ||||||||||||||||
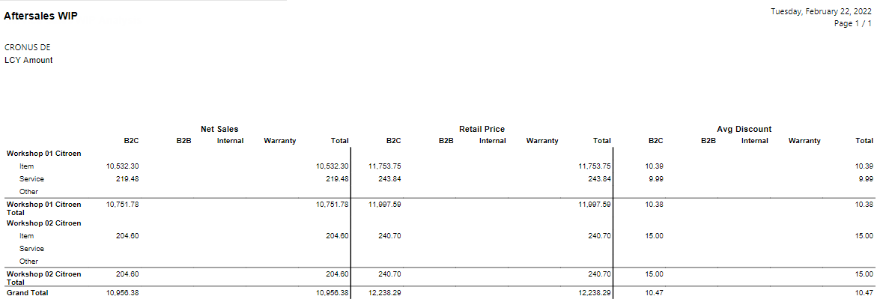
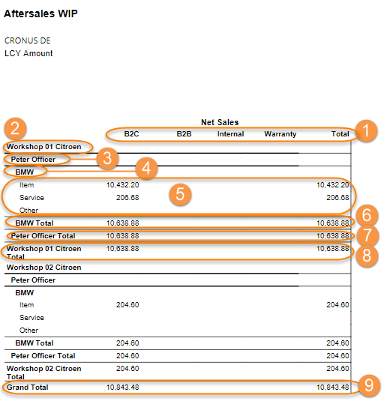
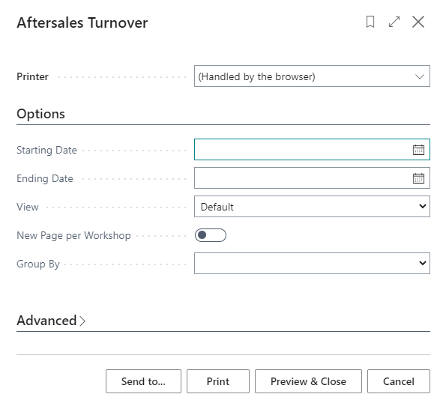
| 2. | Enter a Starting Date and an Ending Date, select if the Report should be “Default” or “Extended” and if you want to have a Grouping on Service Advisor or Brand. The extended view shows not only the Net Sales but also the Retail Price and Average Discount applied per customer type and line type. Click on Print to send it directly to your printer or Review & Close to generate the report on your screen first.
|
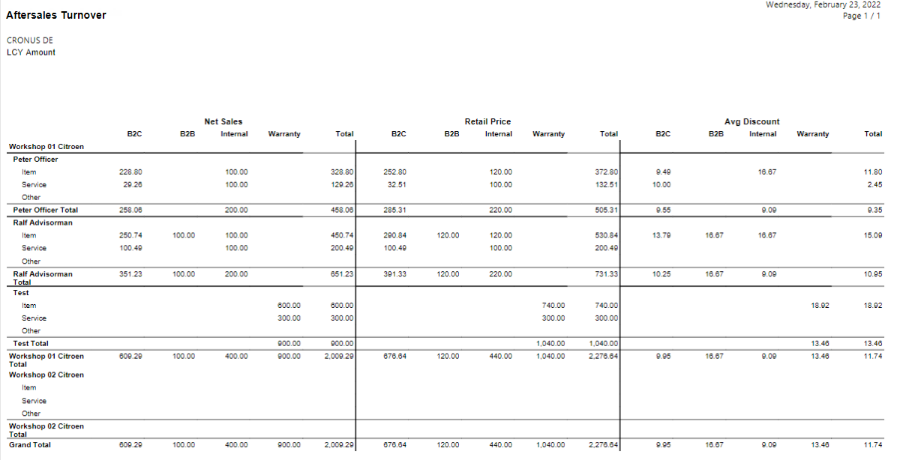
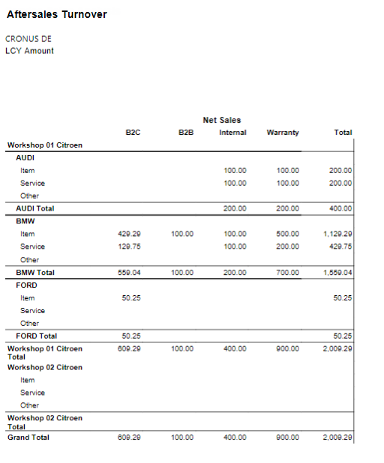
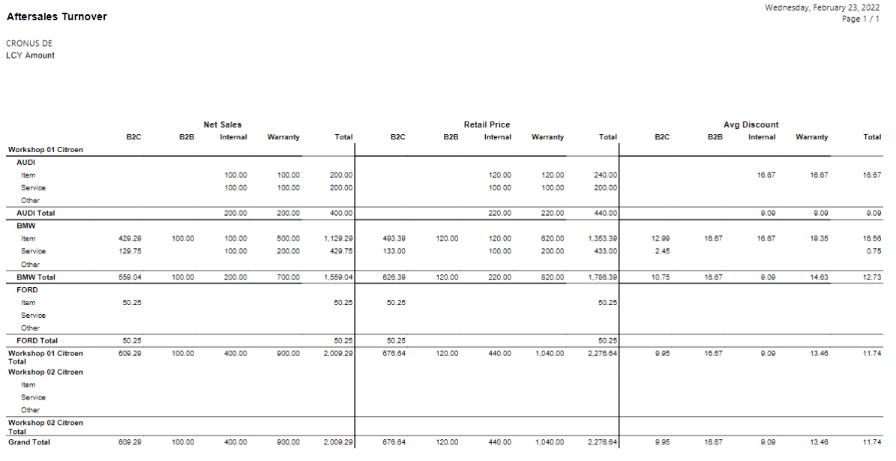
 Aftersales Turnover
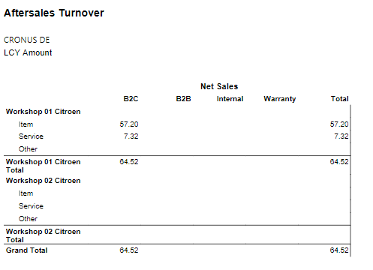
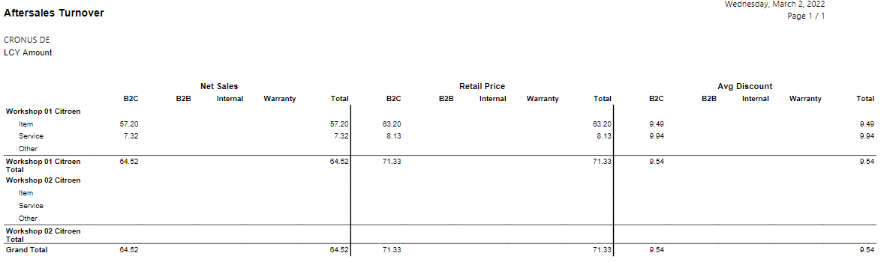
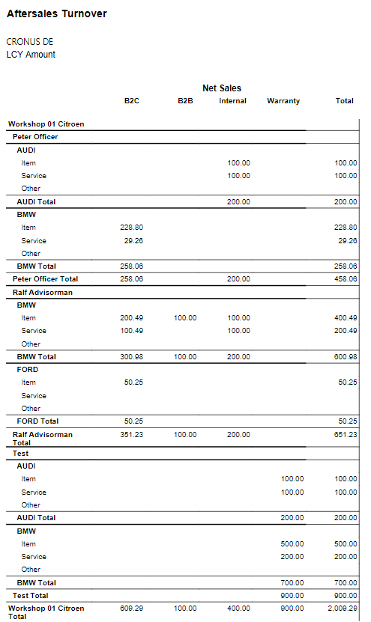
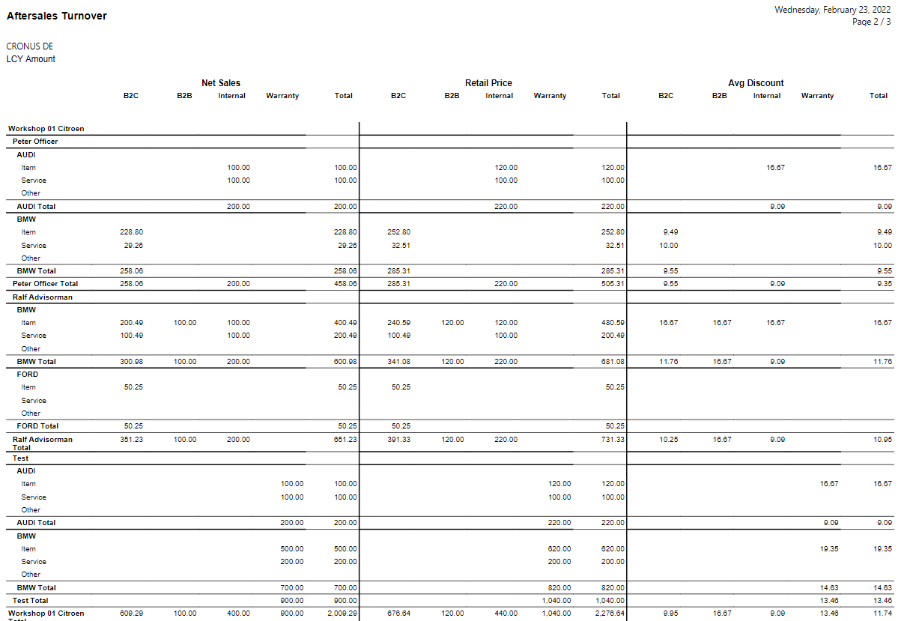
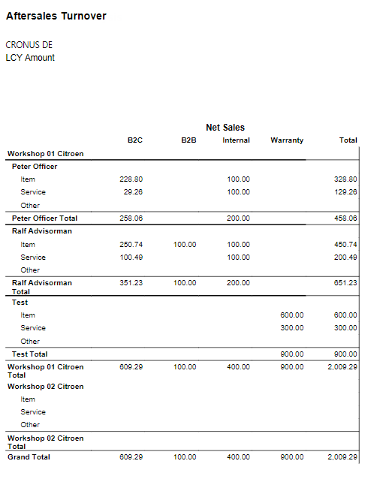
This report shows a breakdown of the revenues of the aftersales area in a matrix layout, split by branch, customer type and type of sales.
 | The layout is the same as for the WIP Report. |
| 1. | On the Rolecenter page click on Aftersales Turnover.
| ||||||||||||||||
| 2. | Enter a Starting Date and an Ending Date, select if the Report should be “Default” or “Extended” and if you want to have a Grouping on Service Advisor or Brand. The extended view shows not only the Net Sales but also the Retail Price and Average Discount applied per customer type and line type. Click on Print to send it directly to your printer or Review & Close to generate the report on your screen first.
|
 Aftersales Parts WIP
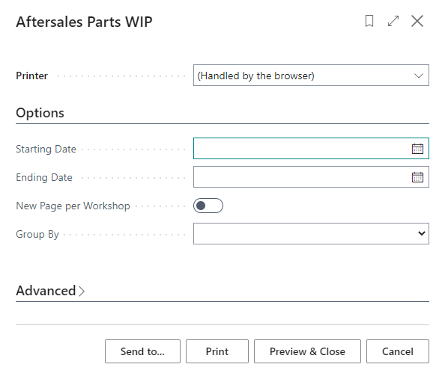
This report shows the open orders per item, grouped by Workshop, Service Advisor and Brand.
| 1. | On the Rolecenter page click on Aftersales Parts WIP on the Rolecenter Page.
| ||||||
| 2. | Enter a Starting Date and an Ending Date, and if you want to have a Grouping on Service Advisor or Brand and if you want to have a New Page per Workshop. Click on Print to send it directly to your printer or Review & Close to generate the report on your screen first.
|
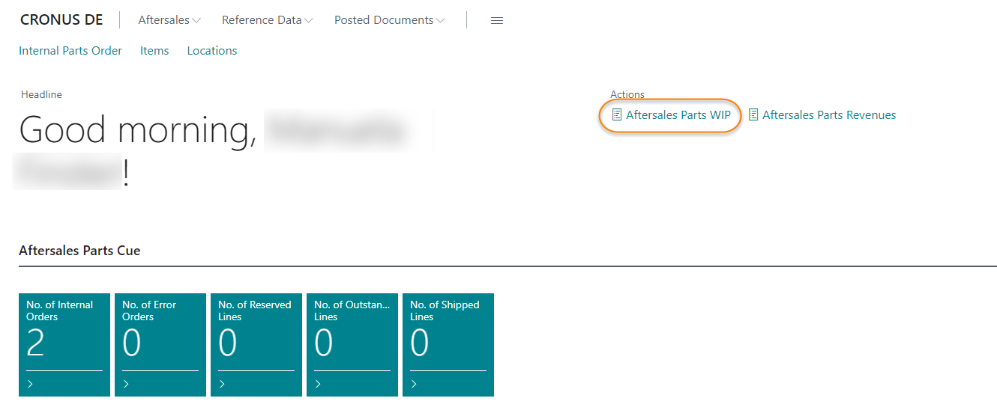
 Aftersales Parts Revenue
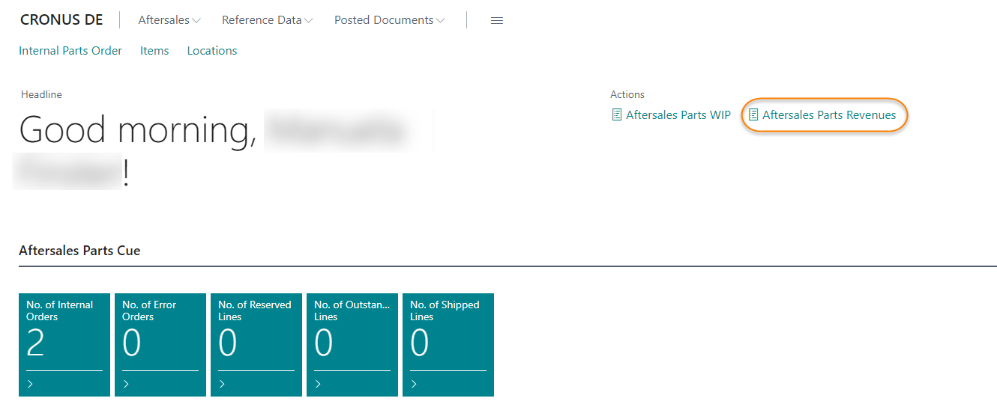
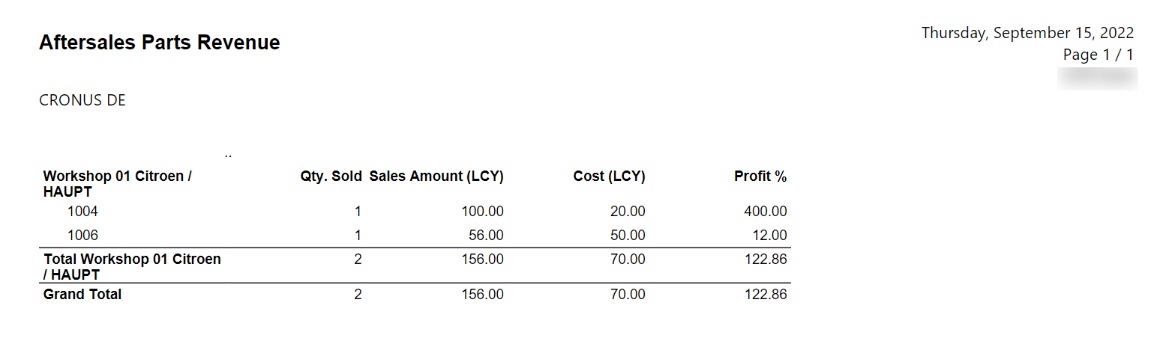
This report shows a breakdown of the revenues of the aftersales parts area by total quantity sold, sales amount, cost and profit of the inventory items sold. It is grouped by Workshop/Location, Service Advisor and Brand.
| 1. | On the Rolecenter page click on Aftersales Parts Revenues.
| ||||||
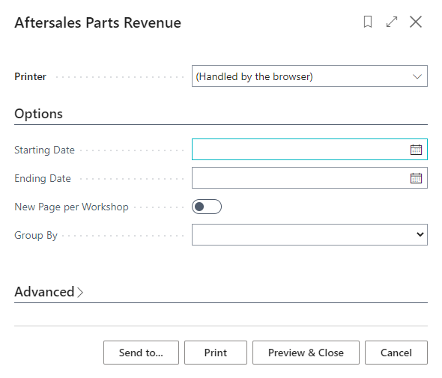
| 2. | Enter a Starting Date and an Ending Date, and if you want to have a Grouping on Service Advisor or Brand and if you want to have a New Page per Workshop. Click on Print to send it directly to your printer or Review & Close to generate the report on your screen first.
|