 |
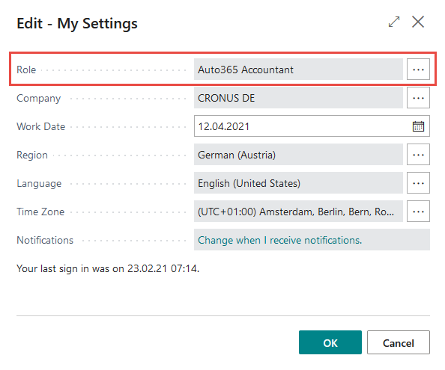
 Role Centers
incadea Automotive365 Accounting comes with two Role Centers:
- Auto365 Accountant and
- Auto365 Manager.
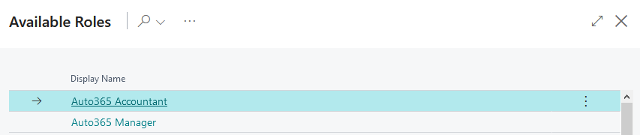
You can select the Role Center by clicking on . For the field Role Center select one of the mentioned above.
 Importing Sales Invoices/Credit Memos to Automotive365 Accounting App
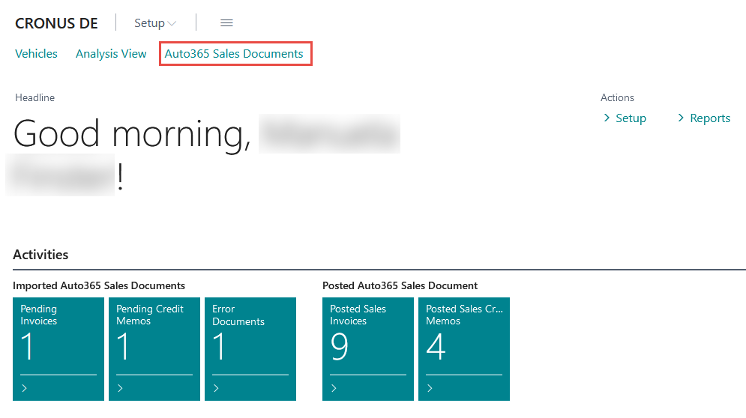
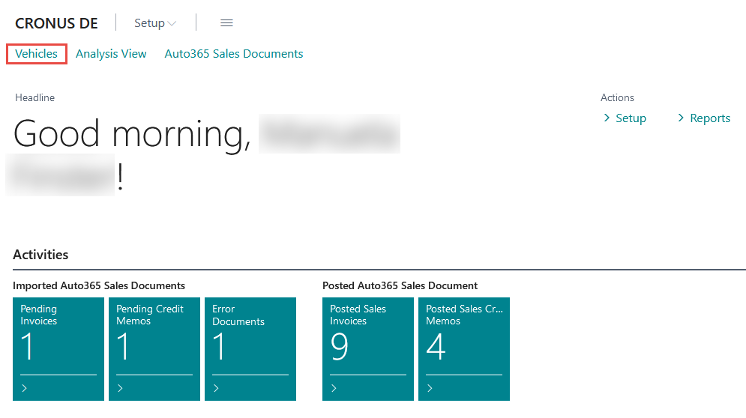
The import of sales invoices/credit memos is triggered by incadea Connection, if you have Enabled the Sales Integration in the Setup. You can see the number of imported sales documents on the Role Center page.
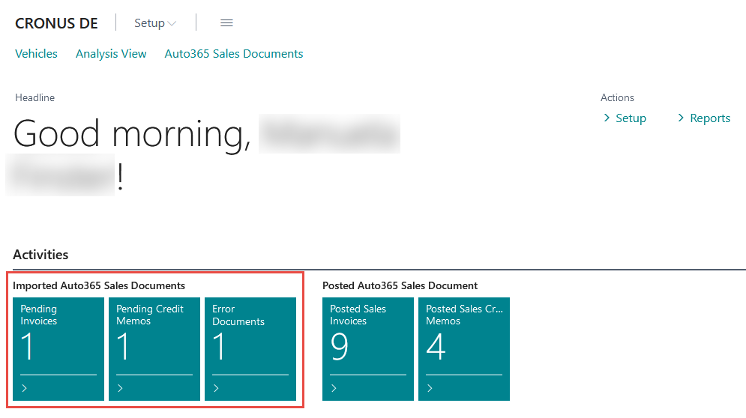
| 1. | Click on one Cue to see the entries of the imported sales documents, e.g. pending invoices.
| ||||
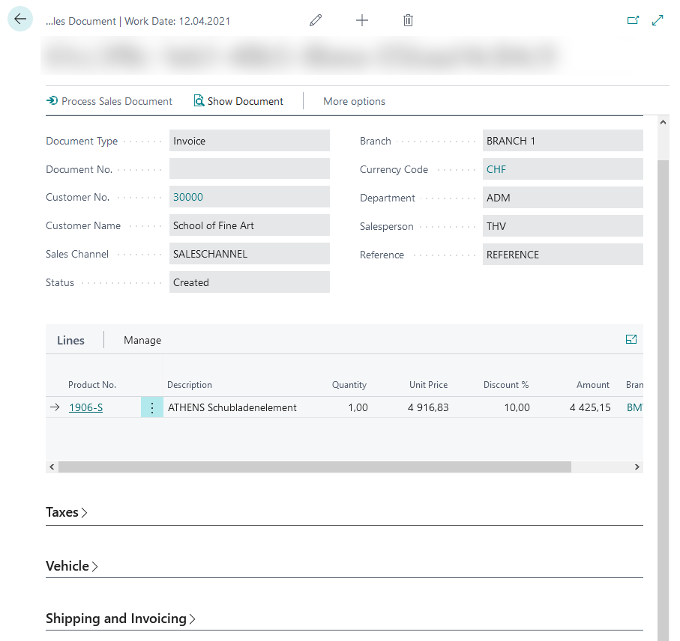
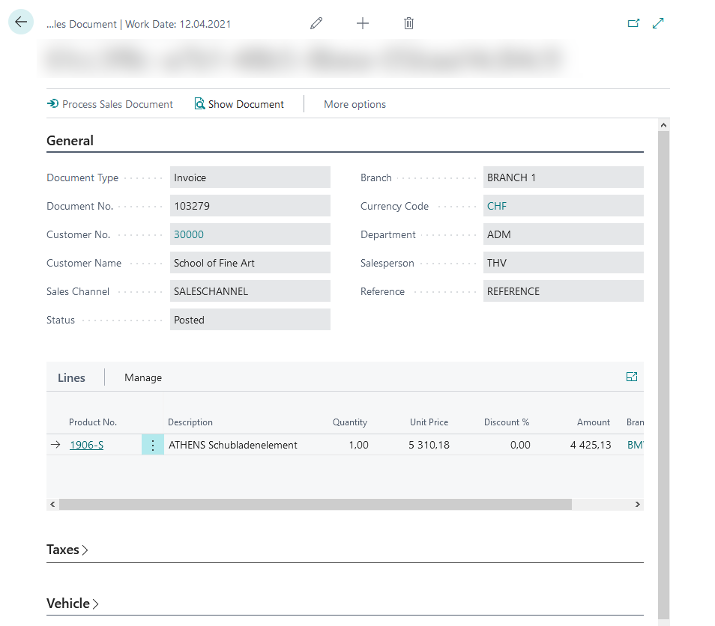
| 2. | If you click on Document Type Invoice the document opens so you can check the details:
| ||||
| 3. | If you have set up, to automatically process sales documents, no further action is required on this page. The documents are scheduled automatically to be posted. | ||||
| 4. | If you don't have enabled this function, you can select a document and click on Process Sales Document, to trigger the posting process. The system only created the sales invoices/credit memos but the user needs to manually trigger the posting. |

This procedure is the same for Pending Credit Memos.
The cue Error Documents opens a view, where all documents are stored which have an error somewhere (e.g. Unknown Customer No.)
 Check Posted Sales Documents
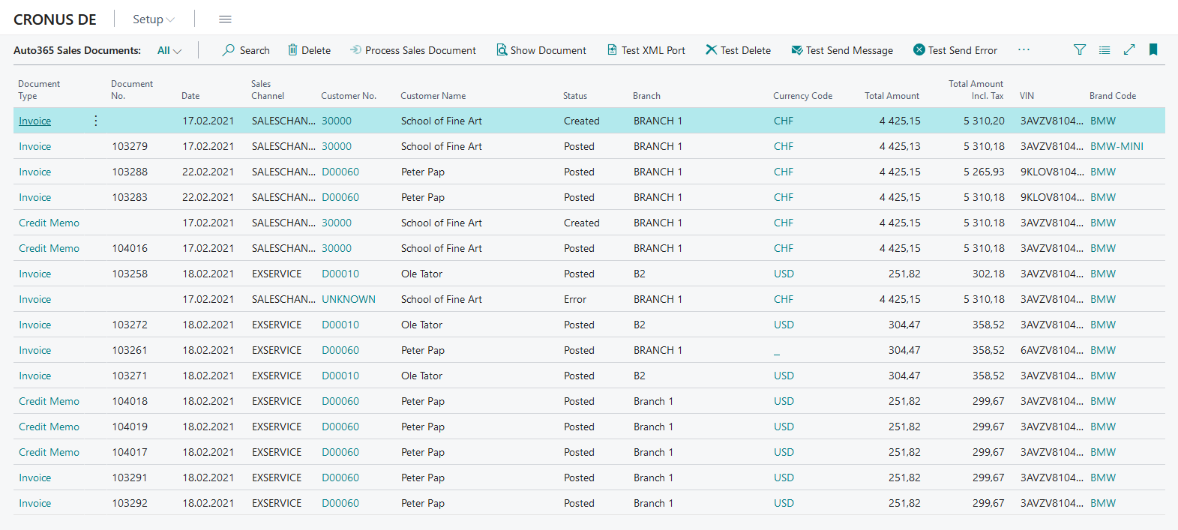
On the Role Center, you have 2 cues, where you can check (1) Posted Sales Invoices and (2) Posted Sales Credit Memos.
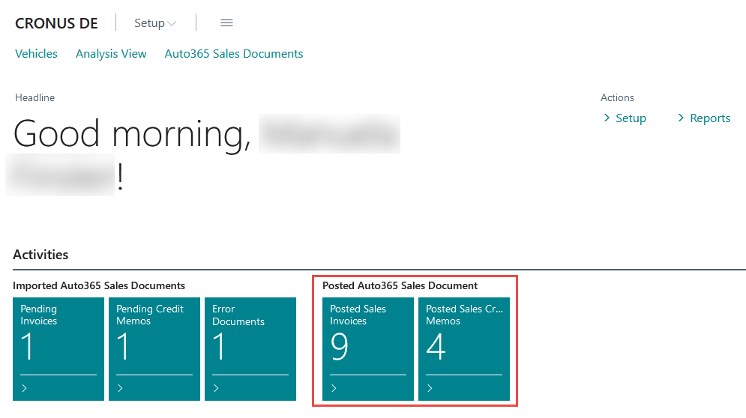
 Fig. 9: Posted Auto365 Sales Documents
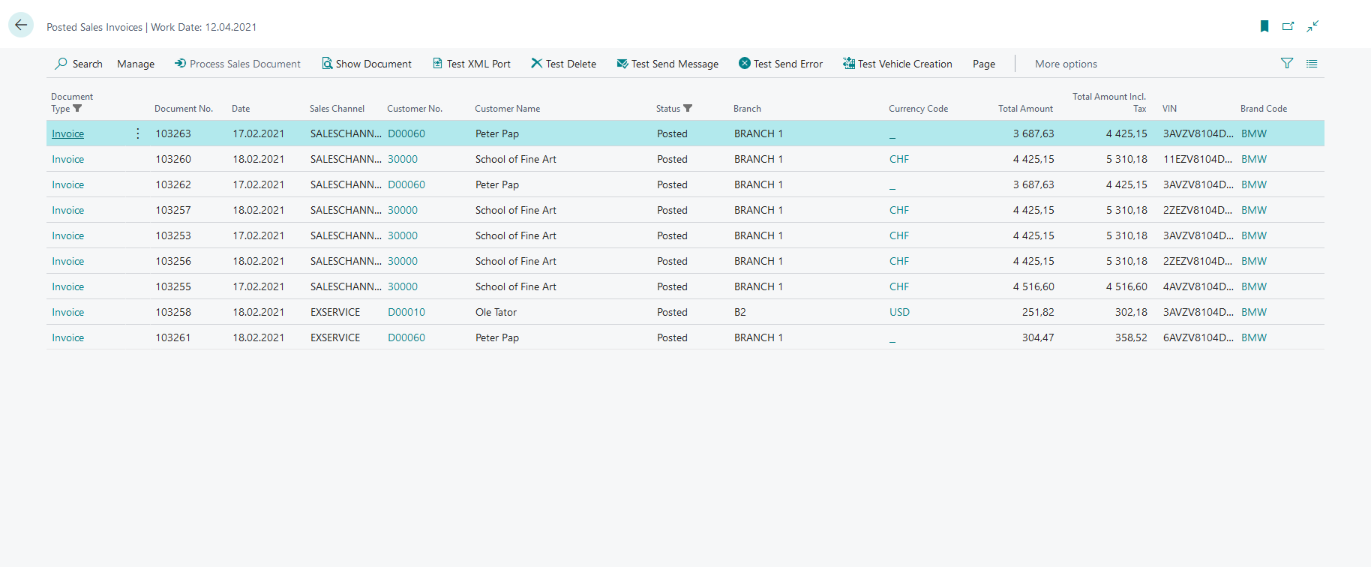
| 1. | Click on one cue, to open the respective page (e.g. Posted Sales Invoices).
| ||||||
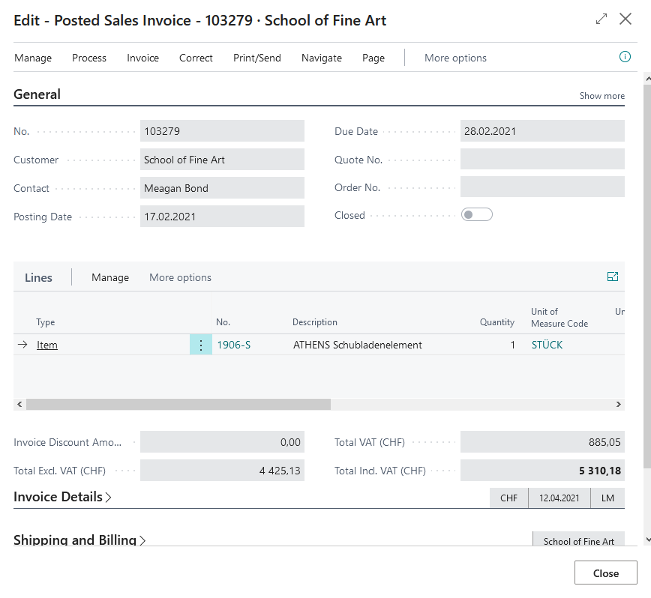
| 2. | If you select one line and click on Show Document the document opens.
| ||||||
| 3. | If you click on Document Type Invoice on the list page, the invoice also opens:
|
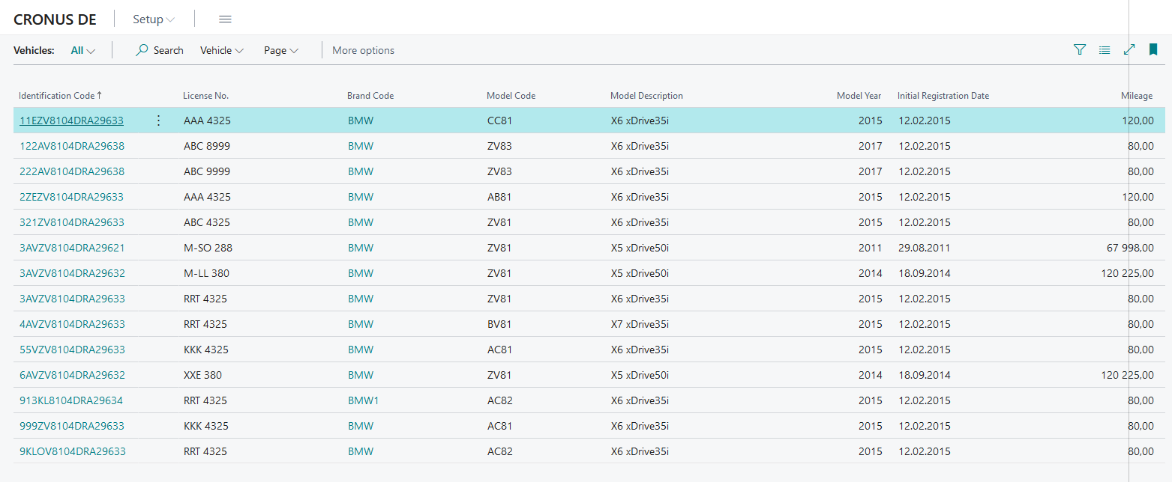
 Vehicles
Once a sales document is posted, a Vehicle Card is automatically created, if the vehicle integration is enabled in the setup and the respective job queue entries exists.
| 1. | Click on Vehicles on the Role Center Page.
| ||||||
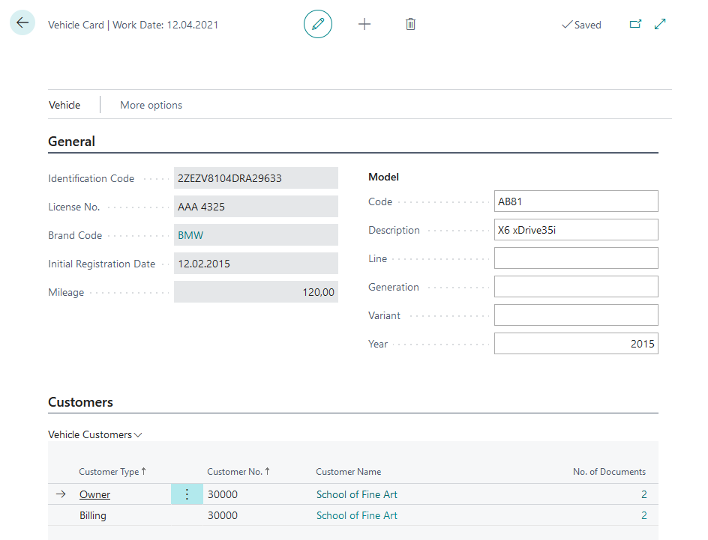
| 2. | To see details of one vehicle, click on the Identification Code of the respective vehicle.
| ||||||
| 3. | To see, which ledger entries are created for the selected vehicle click on
|